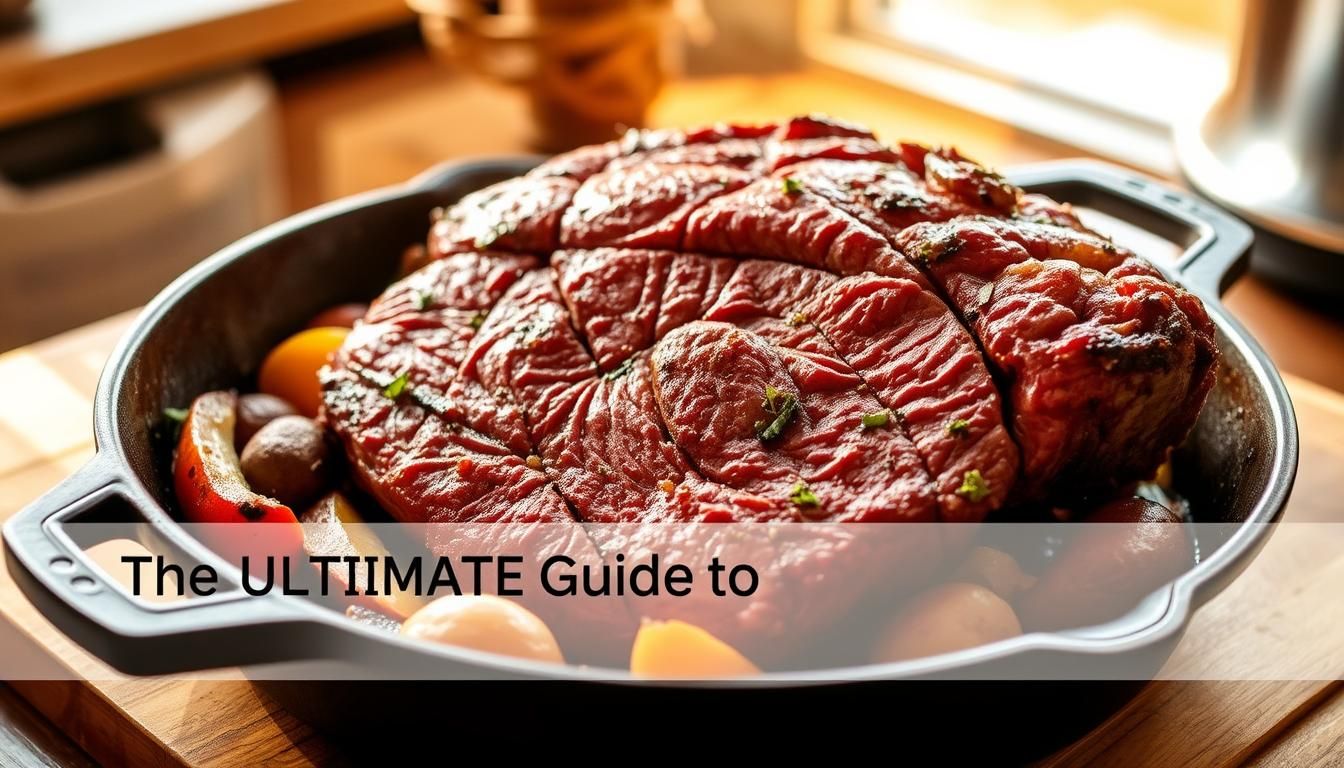
I still remember the first time I let a pot do the heavy lifting while I fed a houseful of hungry friends. The aroma that filled the kitchen felt like a warm invitation and the tender slices brought everyone to the table with smiles.
This guide will help you pick the right chuck roast, season it smartly, and get reliably tender results whether you sear or skip that step. You’ll learn timing—about 7–8 hours on low or 3.5–4 hours on high—and simple checks like the fork-tender test to know when to pull it apart.
We’ll cover deglazing a hot skillet with broth for deeper flavor, when to add a cornstarch slurry for silky gravy, and how to avoid mushy vegetables. By the end, you’ll have a pot roast recipe that feels like home and works for busy weeknights or Sunday dinners.
Key Takeaways
- Choose a well-marbled chuck roast for best tenderness; add extra broth if lean.
- Sear and deglaze for rich juices, or skip sear for a simpler prep.
- Cook on low 7–8 hours or high 3.5–4 hours; check for fork-tender doneness.
- Add dissolved cornstarch in the last hour for gravy or make it on the stovetop.
- Store leftovers in juices up to 4 days; freeze with gravy up to 3 months.
Why slow cooker pot roast belongs in your dinner rotation
A set-it-and-forget meal can turn an inexpensive cut into the centerpiece of a weeknight dinner. The result is ultra-tender meat that falls apart when done, and it needs only minutes of prep in the morning.
Families often pile slices and savory gravy over mashed potatoes, or serve vegetables on the side. This approach feeds a crowd, stretches your grocery budget, and keeps leftovers good for 3–4 days.
- Hands-off payoff: Quick seasoning and a deglaze, then the cooker does the rest.
- Flavor from simple staples: Broth and a few herbs make deep, homemade food without fuss.
- Flexible meal options: Serve over mashed potatoes or add root vegetables to the pot for a one-dish dinner.
“It’s the kind of recipe you make once and keep making—easy, forgiving, and crowd-pleasing.”
For a tested version you can try tonight, see this slow-cooker pot roast recipe at slow-cooker pot roast.
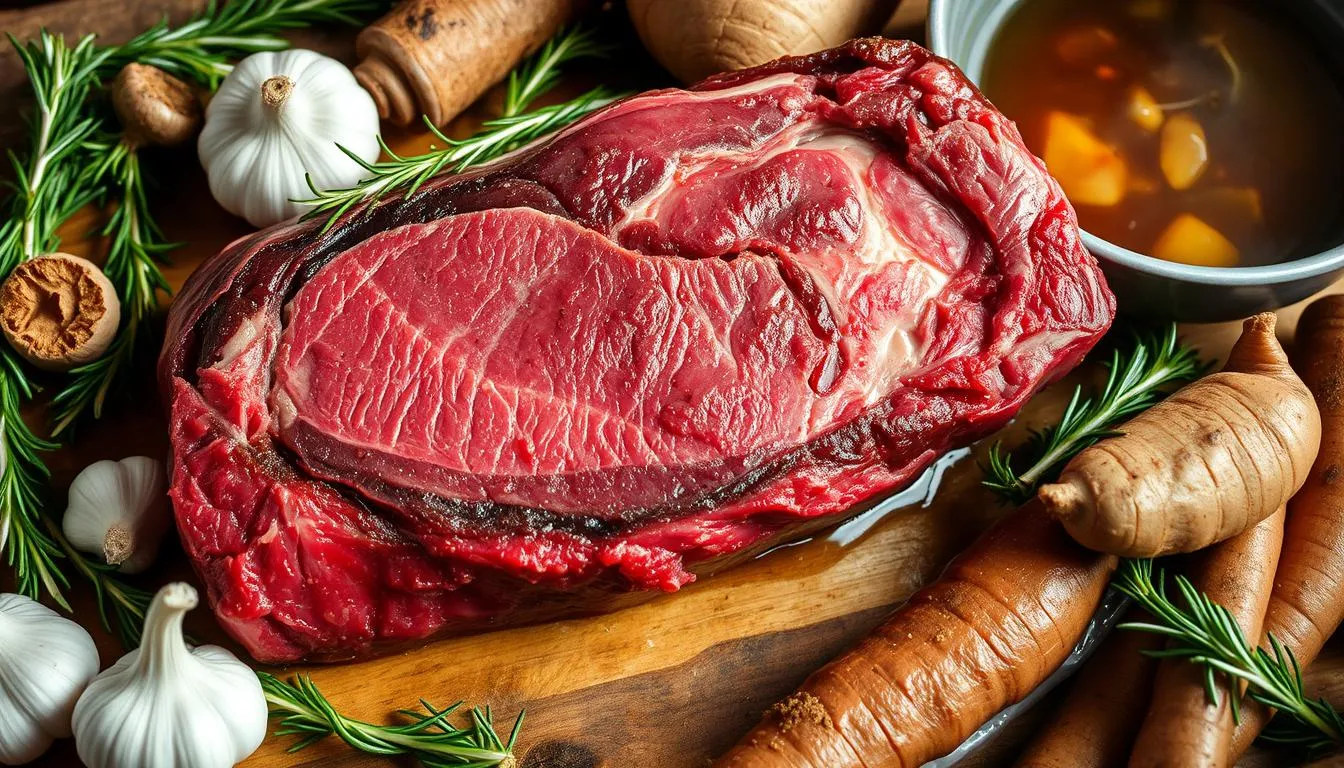
Choosing the best cut of beef chuck roast
Good results begin with the cut—look for marbling and even thickness when you shop.
Marbling matters: why chuck beats lean cuts
Boneless chuck roast is affordable and forgiving. Thin white streaks of intramuscular fat melt as the meat cooks. That internal basting keeps the center moist and delivers the classic pull-apart texture.
Alternatives to consider and trade-offs
If you pick leaner choices like rump or bottom round, expect a firmer bite. Add an extra 1/2–1 cup of broth to compensate and boost juices for gravy. These cuts work, but they need more liquid and gentle timing.
Trimming exterior fat without losing flavor
Trim thick fat caps and large waxy seams, but preserve marbling. A uniform cut cooks evenly, so avoid pieces that taper sharply at one end. Ask your butcher for a 2.5–3 lb selection with steady marbling and minimal exterior fat.
- Dry the surface before seasoning to help spices stick and improve searing.
- Budget extra broth if the meat still looks lean after trimming.
Essential equipment for a fail-proof pot roast
The right gear keeps heat steady and flavors locked in, so your meal comes out perfect every time.
Pick a slow cooker that fits the cut with room to spare. Overcrowding causes uneven heat and can steam the meat instead of letting it develop deeper flavor. If you need to double the quantity, run two crock pots side by side so each piece cooks evenly.
Skillet and sear tips
A heavy skillet—cast iron or stainless—gets very hot fast and gives a golden crust in just a few minutes per side. Preheat until the pan screams, add a little oil, then sear for 2–3 minutes per side to caramelize the surface.
After searing, pour in beef broth and simmer for about a minute while scraping browned bits. That deglaze step builds rich juices to add to the slow cooker pot.
- Tools to have: sturdy tongs, a spatula for turning, and a fat separator for gravy.
- If you skip searing, the cooker-based recipe still works—just skip deglazing or use broth to boost flavor.
Ingredient guide: broth, seasonings, and vegetables that work
Start with smart shopping. Pick a well-marbled beef chuck roast with minimal exterior fat and trim thick seams at home. That balance keeps the meat juicy without greasy drippings.
Broth and deglazing for richer pan juices
Use low-sodium beef broth so you control salt. After searing, pour a splash into the hot skillet and scrape browned bits; those scraps deepen the final gravy.
If the cut looks lean, add an extra 1/2–1 cup of broth to the pot to prevent drying during the long cook.
Seasonings and slurry basics
Season boldly. Montreal Steak Seasoning plus dried thyme is a dependable combo. Italian seasoning gives a brighter herbal lift if you prefer that profile.
To thicken juices, whisk cornstarch into cold water to form a smooth slurry. Add it in the last hour or finish the gravy on the stovetop to avoid lumps.
Vegetables that hold up
Choose hearty vegetables: large chunks of potatoes, carrots, and onion keep structure and soak up flavor. Add garlic, fresh thyme sprigs, or a splash of Worcestershire for extra depth.
- Pick a marbled cut; trim excess fat.
- Deglaze with beef broth after searing.
- Make a cornstarch slurry with water for gravy.
- Cut vegetables large so they don’t become mushy.
Slow cooking beef chuck roast step by step
A clear step-by-step plan makes it easy to turn a tough cut into tender, flavorful dinner.
Season well; sear for crust (optional but flavorful)
Pat the meat dry, rub lightly with oil, and season all sides. Heat a heavy skillet until very hot and sear 2–3 minutes per side for a deep brown crust. This step adds savory notes but is optional if you’re short on time.
Pour and go: deglaze with beef broth and add to the cooker
Pour 1 cup of beef broth into the hot pan and simmer about one minute while scraping browned bits. Pour those juices into the slow cooker pot over the meat.
Low vs. high heat: timing
Set the cooker to low for 7–8 hours or high for 3.5–4 hours. Low heat usually gives the most tender result. Avoid lifting the lid; each peek costs cooking time.
When and how to add vegetables
Nestle large-cut potatoes, carrots, and onions around the meat so they keep texture. Add baby carrots later if you prefer firmer pieces.
Separating and discarding fat before serving
When done, lift the pot roast onto a board. Trim away large fatty sections and discard them. Return the meat to the cooker with the gravy, shred or slice, and serve.
| Setting | Hours | Notes |
|---|---|---|
| Low | 7–8 | Best tenderness; minimal attention |
| High | 3.5–4 | Good when short on time; check fork-tender |
| Sear + Deglaze | Minutes | Sear 2–3 minutes/side; deglaze 1 minute with broth |
Slow cooking beef chuck roast
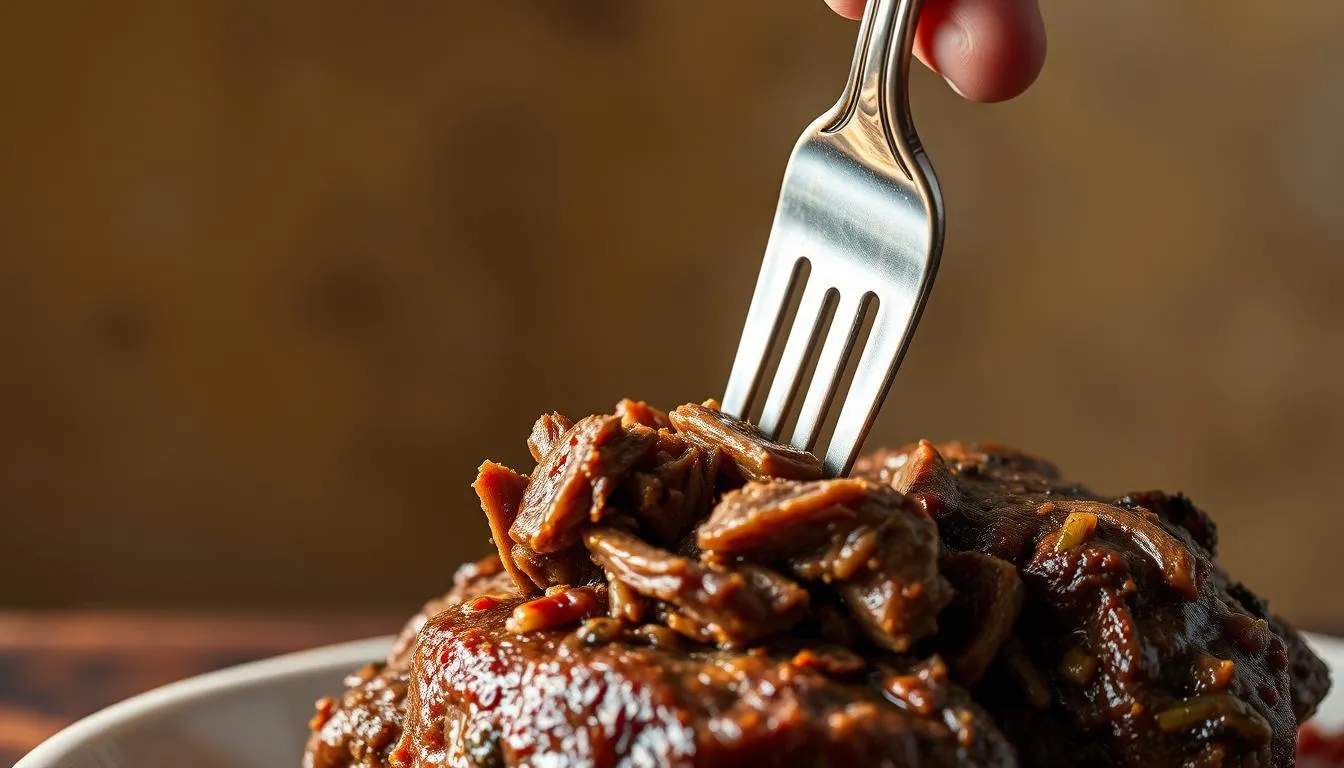
The true test of doneness isn’t the clock but how easily the fork pulls the meat apart.
Timing, temperature, and the fork-tender test
Expect about 7–8 hours on low or 3.5–4 hours on high as a starting point. Different cooker models and cut sizes change that window, so treat hours as a guide rather than a rule.
Use the fork test for doneness: insert a fork and twist. If the meat yields and pulls apart, the pot roast is ready. If it resists, give it more time; connective tissue needs patience to break down.
Troubleshooting tough meat: it’s not done yet
- Keep the lid on to hold steady heat; each peek can add 20–30 extra minutes.
- A splash of broth keeps the environment moist and helps transfer heat evenly.
- If edges are tender but the center is firm, cut into large chunks and return them to the cooker to finish.
- Before serving, trim away any unappealing fat so each slice tastes clean and rich.
Trust texture over time—tenderness beats the clock every time.
Make silky gravy from the cooking juices
A simple starch slurry transforms hot cooking liquid into a pourable, restaurant-style gravy.
First, skim excess fat and measure the hot juices so you know how much thickening you need. Whisk cornstarch into cold water until perfectly smooth—this prevents lumps when it meets heat.
Slurry timing: add cornstarch in the last hour or finish on the stove
Stir the slurry into the liquid around the meat about an hour before serving and let gentle heat thicken it to a glossy nappe.
Alternatively, transfer 1–1.5 cups of cooking broth to a saucepan, bring it to a low boil, whisk in the slurry, and simmer 2–3 minutes until it coats a spoon.
Avoid clumps: dissolve fully in water before stirring in
Always dissolve cornstarch in cold water before adding. Adding undissolved starch to hot liquid creates clumps that are hard to fix.
- Measure juices first to choose how much slurry to use for a pourable sauce.
- If gravy is too thin, simmer uncovered a few more minutes; if too thick, whisk in a splash of broth or water.
- Season to taste with salt, pepper, or thyme before serving.
- Pour the silky gravy over carved meat right before plating so every bite stays juicy.
“Dissolve the starch fully in cold water—this single step makes a smooth, glossy gravy every time.”
| Method | Liquid Needed | Time to Thicken |
|---|---|---|
| In-cooker slurry | All pot juices (measure first) | ~30–60 minutes on low heat |
| Stovetop finish | 1–1.5 cup beef broth or pot juices | 2–3 minutes simmer |
| Quick adjust | Splash of water or broth | Stir until desired consistency |
For a tested approach to rich, well-balanced gravy, see this pot-roast gravy guide.
Serving ideas: classic sides and creative pairings
A well-paired side can turn a simple pot into a memorable family dinner. Decide whether you want one-bowl ease or a plate that shows off silky gravy and a fluffy base.

Mashed potatoes vs. potatoes in the pot
Mashed potatoes give a velvety bed for gravy and let the meat shine. They soak up every drop and please picky eaters.
Adding potatoes to the pot makes cleanup easy and blends flavors with carrots and onions. That method is great for a rustic, one-dish meal.
Greens that cut the richness
Bright green sides balance a hearty plate. Roasted green beans, sautéed asparagus, or crispy Brussels sprouts add texture and lift.
For a light dinner, serve a simple green salad alongside to refresh the palate between rich bites.
Breads that mop up gravy
Warm dinner rolls or flaky biscuits are essential for catching extra sauce. They make the meal feel indulgent and family-friendly.
- Decide between pot potatoes for convenience or ultra-creamy mashed on the side.
- Round out plates with roasted green beans, asparagus, or Brussels sprouts.
- Serve warm dinner rolls or biscuits to soak up gravy.
- If you cooked carrots and onion in the pot, plate them beside the meat for balanced bites.
- Try cauliflower mash or steamed rice for a lighter twist, or pile leftovers onto toasted rolls with horseradish cream.
For more side inspiration, see a tested collection of tasty pot roast sides.
Nutrition snapshot: protein, fiber, and key vitamins
This section breaks down calories, protein, and key vitamins so you know what each plate delivers.
Protein power and iron from beef chuck
Pot roast is a protein-forward meal. Many servings provide roughly 37–47 grams of protein per plate, which helps with fullness and muscle maintenance.
Beef chuck brings heme iron and B vitamins that support energy and oxygen transport.
Vitamins A and C from vegetables; mindful sodium choices
Carrots supply vitamin A, while potatoes add vitamin C and potassium when served with the vegetables.
Total sodium varies by seasoning and broth. Choosing low-sodium beef broth gives you control; add salt at the end to taste.
- Calories typically range from ~330–536 per serving.
- Fat often sits near 26 g; trimming exterior fat and using olive oil lowers saturated fat.
- Fiber can be 1–5 g depending on vegetable portions.
| Nutrient | Approx per serving | Notes |
|---|---|---|
| Protein | 37–47 g | Weigh portions for tracking |
| Sodium | 334–478 mg | Use low-sodium broth to reduce |
| Fiber | 1–5 g | Add extra vegetables to boost |
Nutrition calculators give estimates; exact values depend on ingredients and portion sizes.
Leftovers, meal prep, and freezing tips
Smart storage and gentle reheating keep the flavors you worked for and cut down weekday meal stress.
Refrigerating safely
Cool the meat quickly and store it submerged in its juices. Keep leftovers refrigerated up to 3–4 days to lock in moisture and flavor.
Reheating options
Warm gently in the microwave or oven. For the most forgiving result, return meat and gravy to the crock pot or slow cooker on low until heated through.
Freezing and thawing
Package cooked meat with gravy in airtight containers or heavy-duty bags and freeze for up to three months. Skip freezing potatoes and carrots—they lose texture.
Thaw overnight in the fridge, then reheat on the stovetop or in the microwave, stirring occasionally.
Repurpose and meal prep
Transform leftovers into hot sandwiches, rice bowls, or gravy-smothered mashed potato plates. Portion meat with sauce into meal containers and add fresh sides during the week.
- Label containers with date and contents to track time safely.
- For best texture, reheat slowly and avoid high heat blasts.
- If gravy thickens in storage, whisk in a splash of broth or water while warming.
| Storage Method | Duration | Best Use |
|---|---|---|
| Refrigerator (in juices) | 3–4 days | Leftover plates, sandwiches |
| Freezer (meat + gravy) | Up to 3 months | Future meals; thaw overnight |
| Frozen veggies | Not recommended | Use fresh or re-cook new potatoes |
Conclusion
Finish strong: pick a well-marbled chuck roast, season boldly, and let low, steady heat do the work for a reliably tender pot roast.
A quick sear and deglaze with one cup of broth deepens flavor, and the fork-tender test tells you when the meat is ready. Keep vegetables chunky or add them later to avoid mushy potatoes and carrots.
Trim excess fat before serving, avoid overcrowding the cooker (use a second crock pot for big batches), and finish with a smooth cornstarch gravy or stovetop finish.
Store leftovers submerged in juices for 3–4 days or freeze the beef with gravy up to three months. With this chuck roast recipe, you’ll have a comforting, adaptable meal ready any night.
FAQ
What cut should I buy for a flavorful pot roast?
Choose a well-marbled chuck roast (look for visible fat streaks). Marbling melts during long, gentle heat and yields tender meat and rich juices. If chuck isn’t available, bottom round or rump can work but expect slightly firmer texture and less fat-driven flavor.
Do I need to sear the meat before adding it to the cooker?
Searing is optional but recommended. A quick brown on all sides adds a caramelized crust and depth to the pan juices. Use a hot skillet, then deglaze with beef broth or wine to lift flavorful browned bits into the pot.
How much liquid should I add to the pot?
Add enough broth or liquid to come about one-third to one-half up the side of the roast. You don’t need to fully submerge it; the moist heat and steam will tenderize the meat while keeping the cooking juices concentrated for gravy.
What’s the best way to cook if I’m short on time?
Use the high setting: plan on about 3.5–4 hours for a fork-tender result with a standard 3–4 pound roast. A pressure cooker like an Instant Pot can cut time further, but watch for overcooked vegetables.
When should I add potatoes and carrots so they hold their shape?
Add root vegetables during the last 2–3 hours on low (or last hour on high). That timing keeps them tender but not mushy and lets them absorb savory juices without falling apart.
How do I remove excess fat before serving?
Chill the cooking liquid briefly in the fridge, then lift off the solidified fat. For a quicker method, skim with a spoon or use a fat separator. This trims greasiness while preserving flavor in the gravy.
How do I make a smooth gravy from the drippings?
Mix cornstarch with cold water to form a thin slurry, then stir it into simmering juices. Cook a few minutes until thickened. To avoid lumps, dissolve cornstarch fully before adding and whisk constantly as it thickens.
What internal temperature indicates the roast is done?
For fork-tender results, rely more on the fork-tender test than a strict temperature. That said, when the meat reaches about 190–205°F, connective tissues break down and the roast becomes shreddable and tender.
Why is my meat still tough after the recommended time?
Toughness usually means it needs more time. Collagen needs long, moist heat to dissolve. Keep cooking longer on low, check periodically, and avoid slicing too soon — letting it rest and shredding against the grain helps.
Can I cook a large roast for a crowd in one pot?
Avoid overcrowding. If the roast is too large for a single cooker, split into two roasts or use two Crock-Pots for even heat and consistent results. Proper spacing ensures thorough, even braising.
How long can I refrigerate leftovers safely?
Store meat and cooking juices in the refrigerator for up to four days. Keep the roast submerged or in its juices to preserve moisture and flavor. Reheat gently to avoid drying out the protein.
Can I freeze pot roast, and what’s the best way?
Yes. Freeze meat with some cooking liquid in airtight containers for up to three months. Leave out potatoes and delicate vegetables — they become mushy after thawing. Thaw in the fridge overnight before reheating.
What seasonings pair best with this style of roast?
Classic choices include thyme, rosemary, garlic, and a steak seasoning or Italian blend. Keep salt and pepper as your base, then add herbs to taste. Fresh herbs tossed in near the end brighten the flavor.
How do I reheat leftovers without drying them out?
Reheat gently in a covered dish with a splash of broth, in the oven at low heat, or return to the cooker on low until warmed. Microwaving works for small portions—cover and add liquid to retain moisture.
Any tips for reducing sodium without losing flavor?
Use low-sodium broth and boost savory depth with aromatics: garlic, caramelized onions, bay leaves, and a splash of balsamic or Worcestershire sauce. Taste as you go and adjust seasoning at the end.
What are quick repurpose ideas for leftover shredded roast?
Transform leftovers into sandwiches, tacos, rice bowls, or shepherd’s pie. Warm the meat in gravy, then combine with fresh vegetables or cheeses for fast, flavorful meals.